I had been curious about making homemade jam for a very long time and I was surprised by how simple the process really is. There were a few concerns that I had prior to starting the process such as the fact that I have a very tiny kitchen and I do not have large enough pots for making the jam itself and boiling the bottles. But I made do with what I had and used a large flat pan to cook the jam, and used several smaller pots to boil the bottles and tops. In the end I ended up using all 4 burner tops (1 for the jam, 2 for boiling the bottles and the 4th one for boiling the lids).
I made 2 types of jam. One with pectin and one without. Pectin allows the jam to set into a jelly-like consistency.
Recipe for jam without pectin:
INGREDIENTS
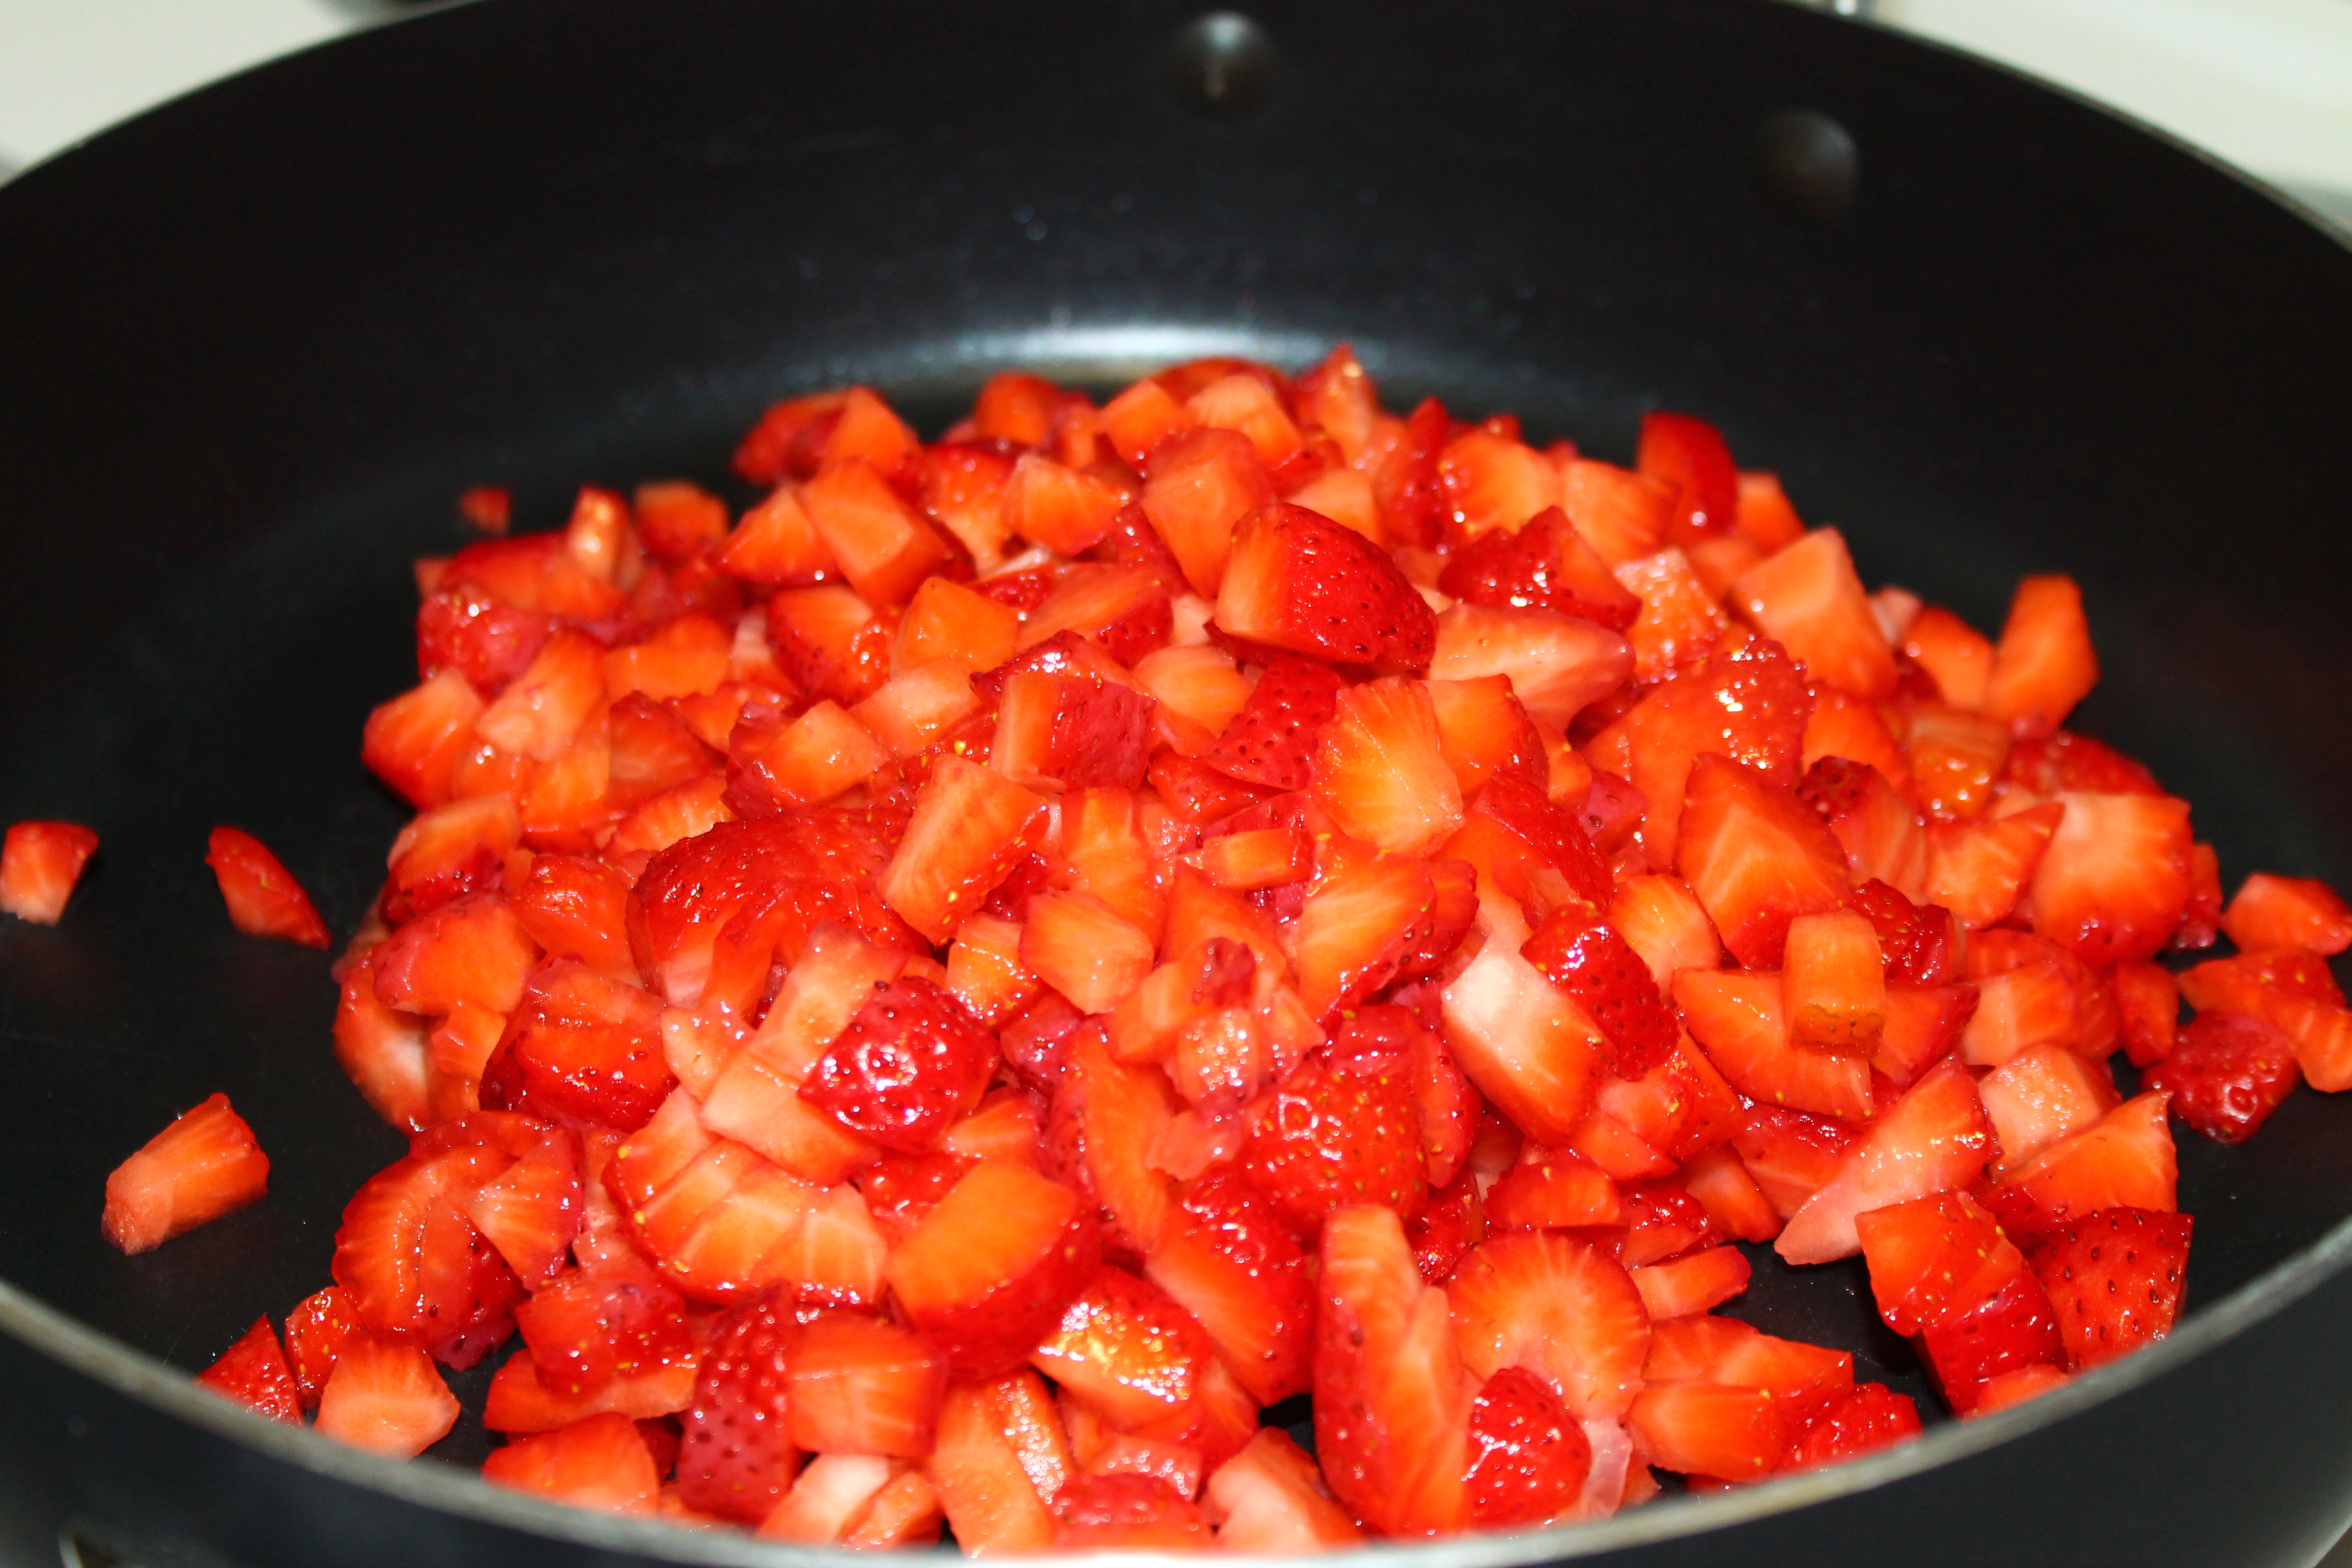
2 pounds fresh strawberries, hulled
4 cups white sugar
1/4 lemon juice
Recipe with pectin:
INGREDIENTS
4 cups prepared strawberries (buy about 2 qt. fully ripe strawberries)
7 cups sugar, measured into separate bowl
1/2 tsp. butter or margarine (optional)
1 pouch fruit pectin (I used CERTO)


PROCESS
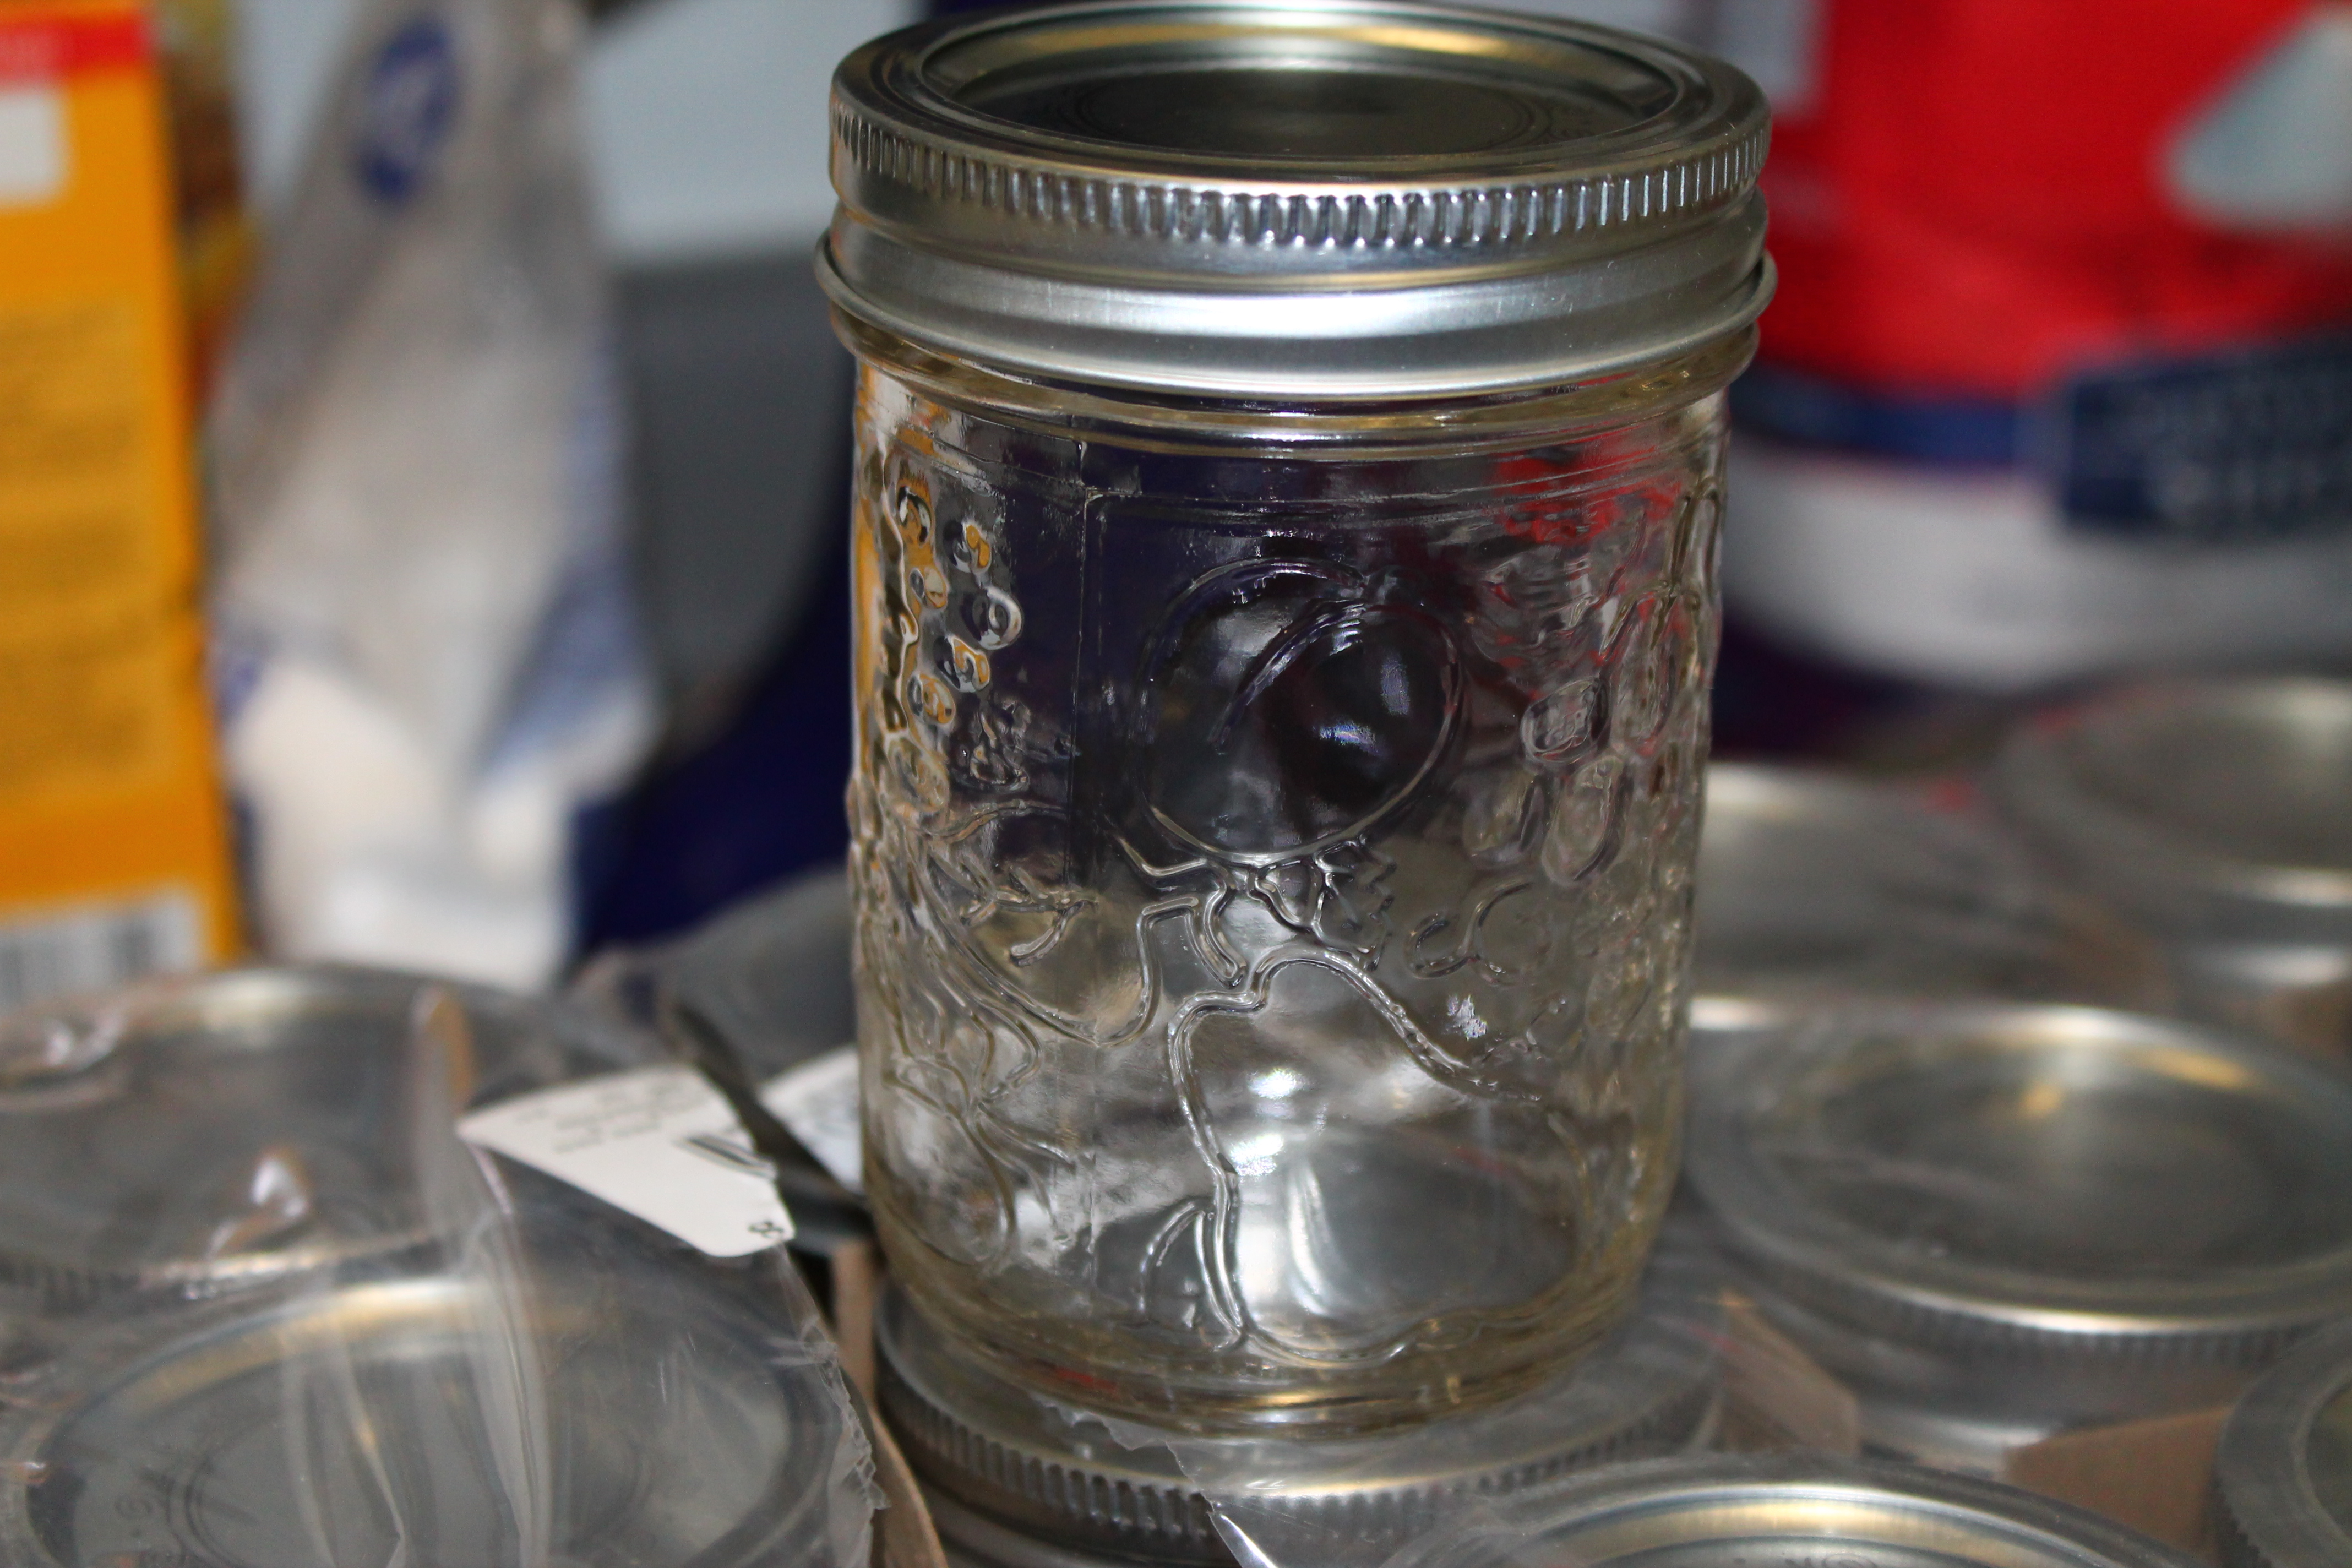
Bring to boil lids and bottle for at least 10 minutes. Let air dry before filling. Be careful, the bottles will be hot.


Measure exactly 4 cups of crushed strawberries into 6- or 8-quart sauce pot. Add sugar; stir. Add butter to reduce foaming. Bring to full rolling boil (a boil that doesn’t stop bubbling when stirred) on high heat, stirring constantly. Stir in pectin.


Return to full rolling boil and boil exactly 1 minute, stirring constantly. Remove from heat. Skim off any foam with metal spoon.


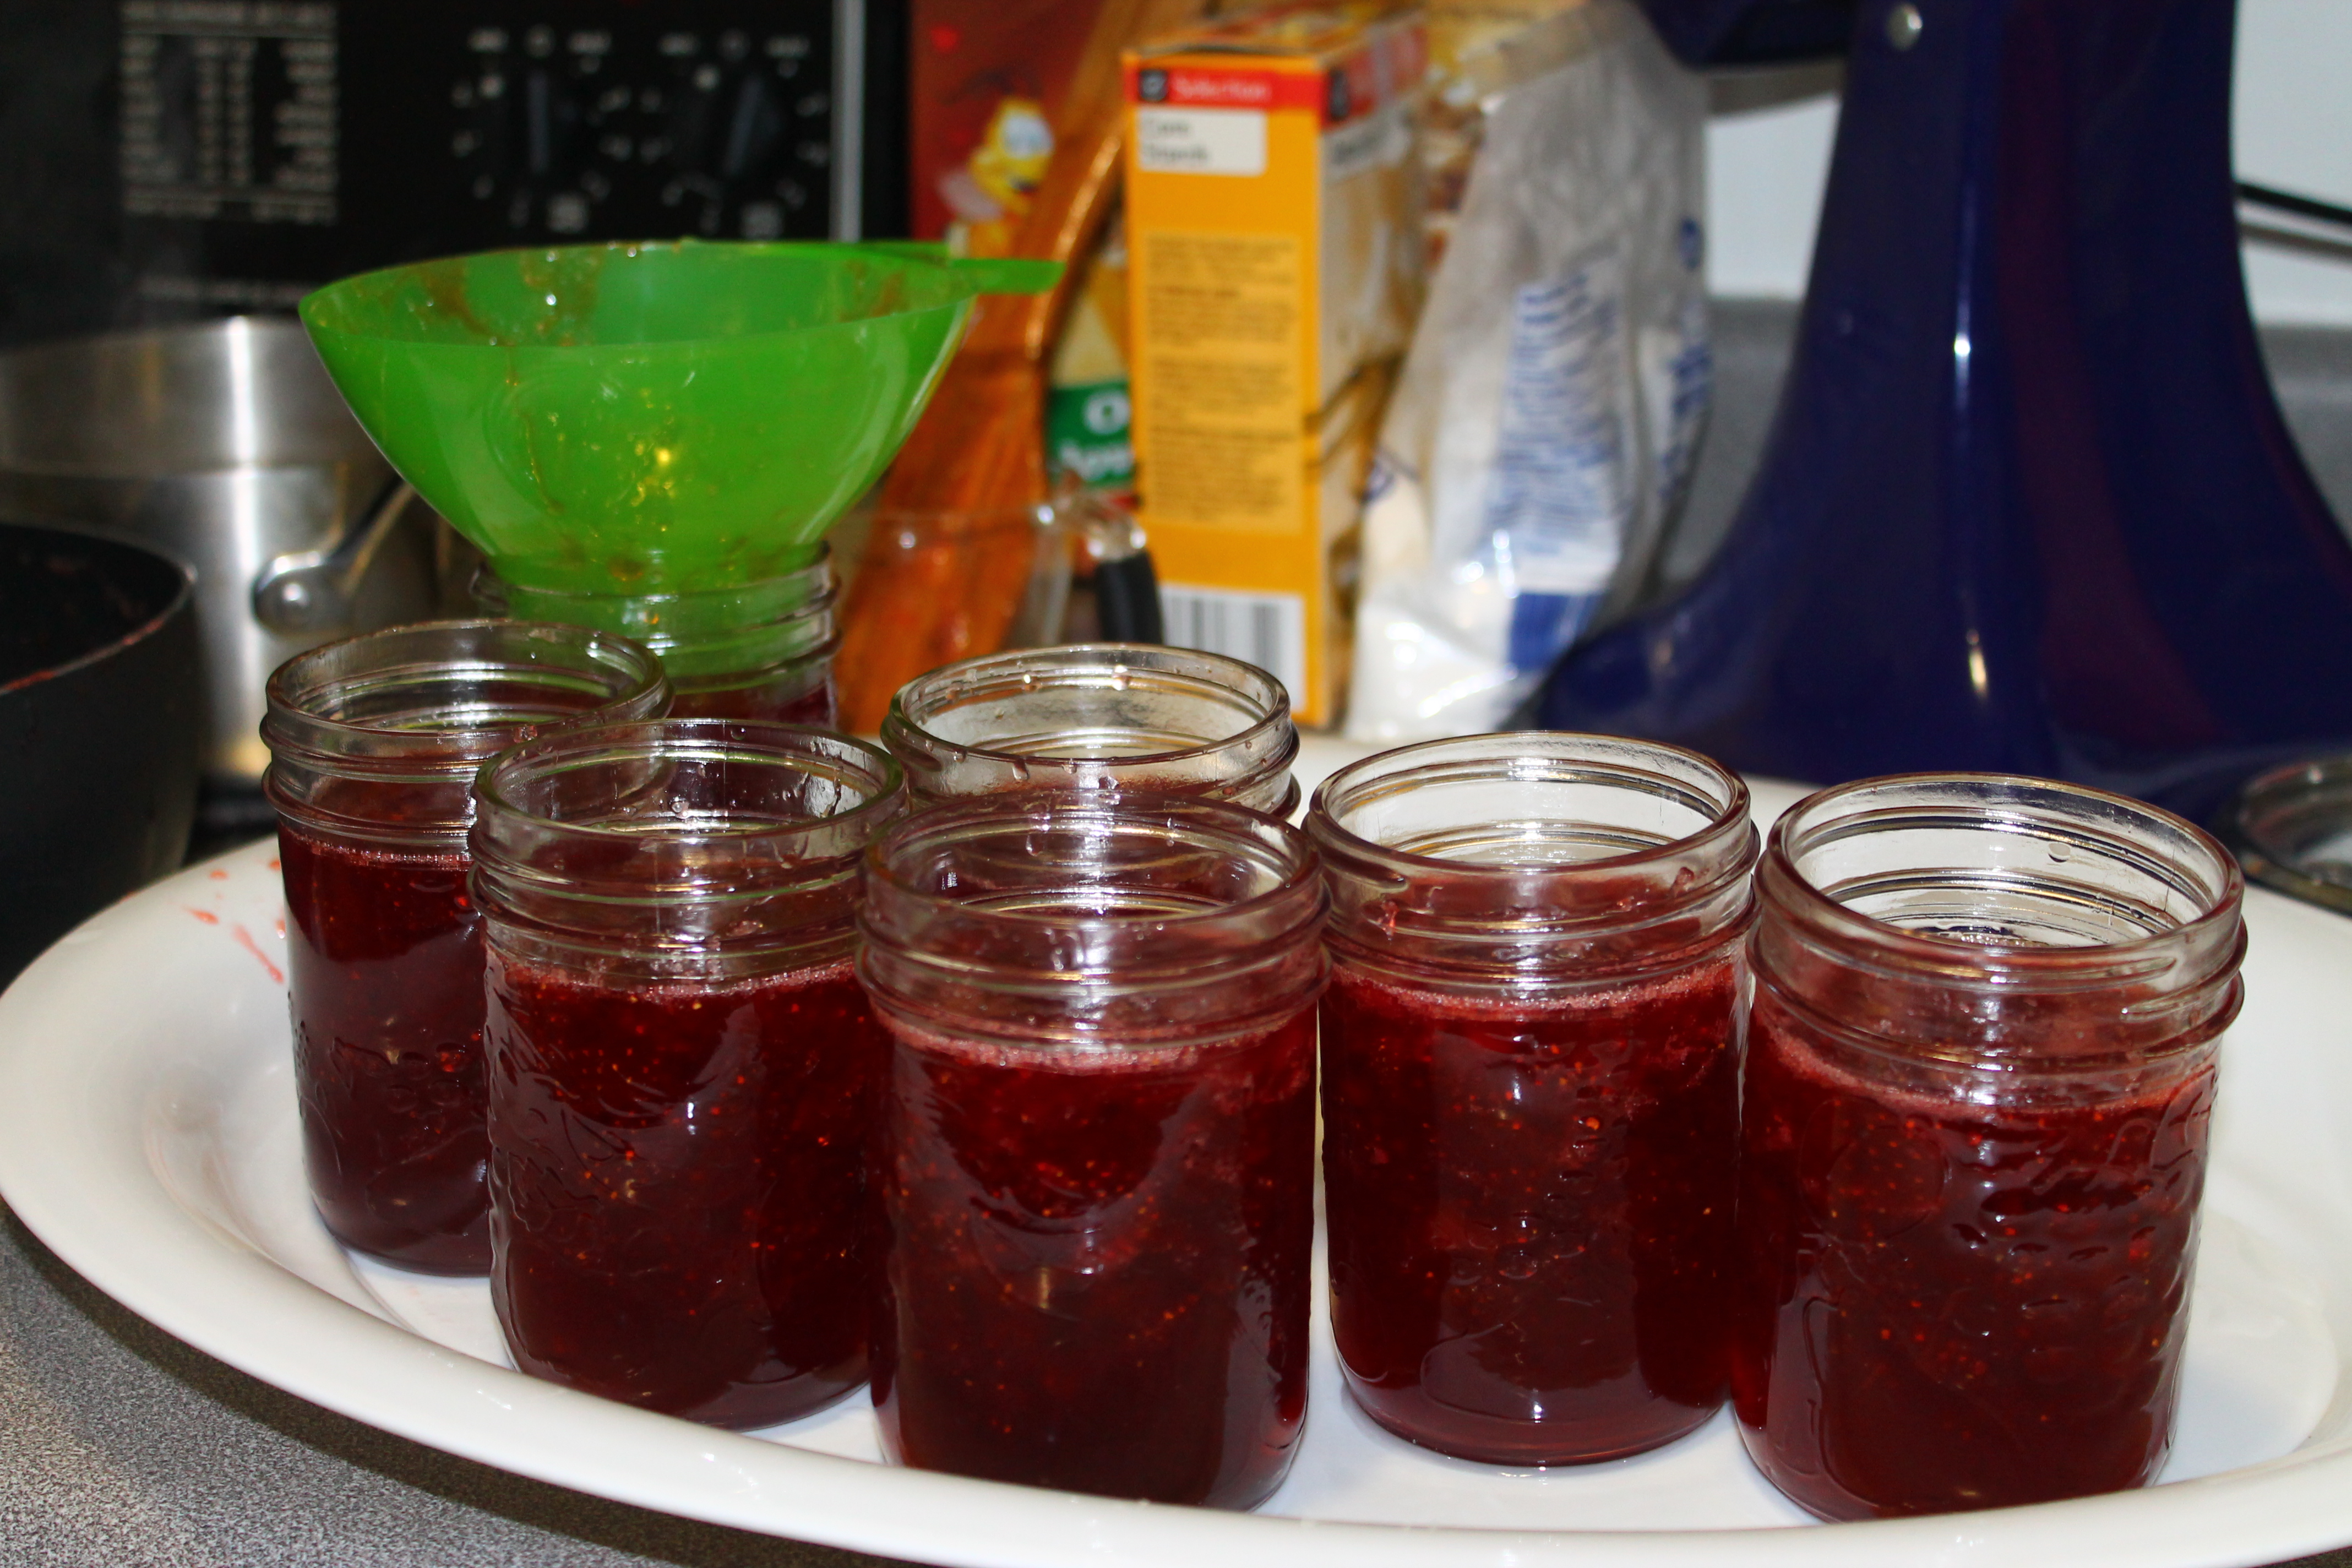
Laddle immediately into prepared jars, filling to within 1/8 inch of tops. Wipe jar rims and threads. Cover with 2-piece lids. Screw bands tightly. Place jars on elevated rack in canner. Lower rack into canner. (Water must cover jars by 1 to 2 inches. Add boiling water, if necessary.) Cover; bring water to gentle boil. Process 10 minutes. Remove jars and place upright on towel to cool completely. After jars cool, check seals by pressing middle of lid with finger. (If lid springs back, lid is not sealed and refrigeration is necessary.)